What a Faulty Flapper Means for Your Home
Toilet flapper replacement is a common DIY plumbing repair that can save a significant amount of water and prevent high utility bills. Here's what you need to know:
Quick Replacement Steps:
- Turn off water - Locate the shutoff valve behind the toilet and turn it clockwise.
- Drain tank - Flush and hold the handle until the tank is empty.
- Remove old flapper - Unhook the chain and slide the flapper off its pegs.
- Install new flapper - Hook the new flapper onto the overflow tube pegs and attach the chain.
- Test - Turn the water on, let the tank fill, and check for a proper seal and flush.
Time needed: 15-20 minutes | Skill level: Beginner
If you hear water constantly running in your toilet, your flapper probably isn't sealing properly. A worn-out flapper can waste up to 200 gallons of water per day, leading to a noticeable increase in your water bill. The flapper is a rubber seal at the bottom of the tank that lifts when you flush and settles back down to stop the water flow. Over time, it can warp, harden, or develop mineral buildup, preventing a tight seal. The good news is that this is a straightforward repair most homeowners can handle in under 20 minutes.

Quick toilet flapper replacement terms:
Understanding the Toilet Flapper and Its Failure Signs
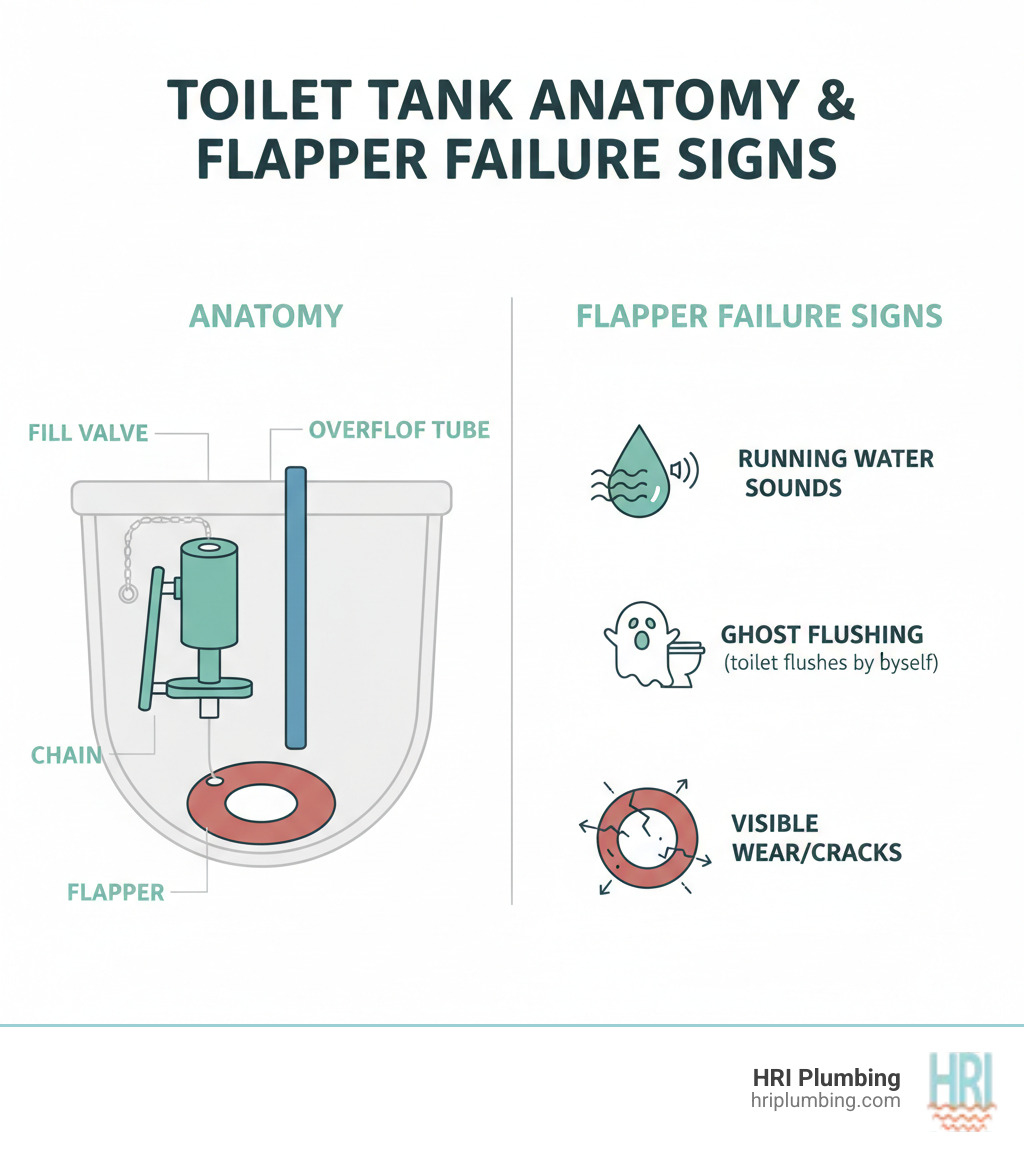
The toilet flapper is a rubber or silicone seal at the bottom of your toilet tank. It covers the flush valve, holding water in the tank. When you press the handle, a chain lifts the flapper, allowing water to rush into the bowl. Once the tank is empty, the flapper falls back into place, sealing the opening so the tank can refill.
When this simple part fails, it causes problems. Here are the key signs that your flapper needs to be replaced:
- Constant Running Water: This is the most common sign. If the flapper doesn't create a perfect seal, water will continuously trickle from the tank into the bowl, creating a constant running sound and wasting a significant amount of water.
- Ghost Flushing: This happens when a slow leak from a faulty flapper causes the water level in the tank to drop, triggering the fill valve to turn on as if the toilet was flushed on its own.
- Weak or Incomplete Flushes: If you have to hold the handle down to get a full flush, the flapper might be closing too soon. This can be due to a problem with the chain or the flapper itself becoming stiff.
- Visible Wear and Tear: An inspection of the flapper may reveal that the rubber has hardened, cracked, warped, or become covered in mineral deposits. In-tank cleaning tablets can also accelerate this deterioration. If it looks worn out, it's time for a replacement.
Recognizing these signs helps you diagnose the problem quickly. For more insights into common toilet issues, you might find our article on Why Your Toilet Keeps Clogging helpful.
Tools and Materials for a Successful Toilet Flapper Replacement
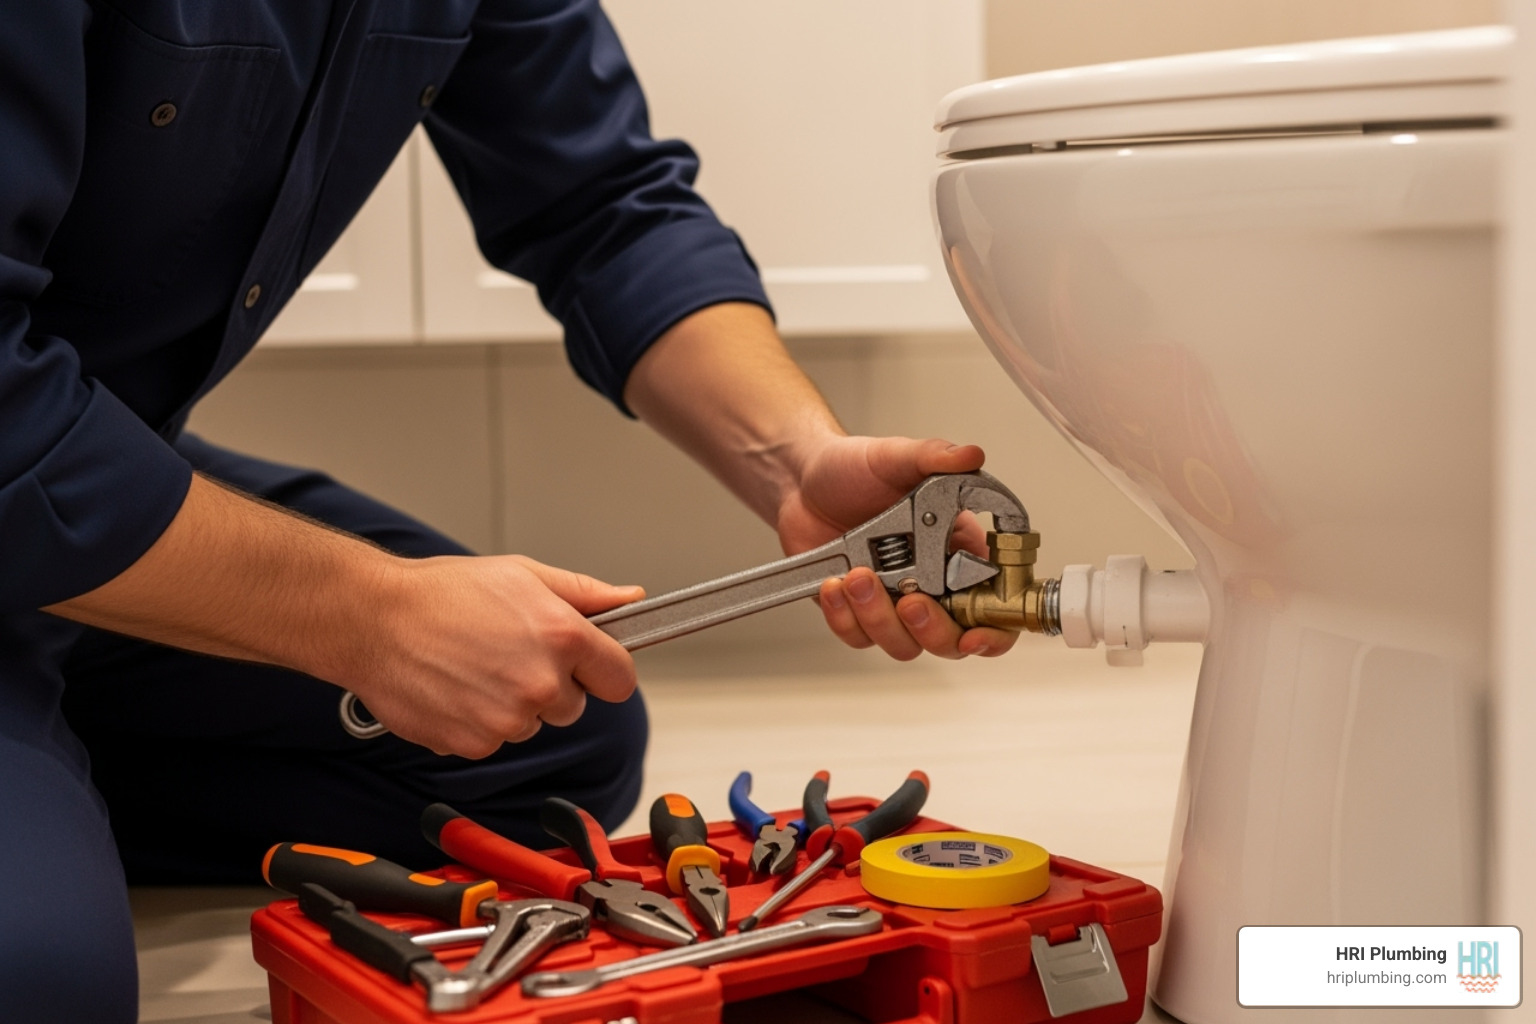
Gathering your tools and materials beforehand will make this toilet flapper replacement a smooth and efficient process. Here's what you'll need:
- New Toilet Flapper with Lift Chain: Getting the right size is crucial. Flappers are typically 2 or 3 inches, referring to the flush valve opening diameter. If possible, check your toilet's make and model, or take the old flapper with you to the home improvement store to find a match. Universal flappers are also an option.
- Heavy-Duty Scissors or Snips: For adjusting the length of the new flapper's chain.
- Rubber Gloves (Optional): To keep your hands clean while working in the tank.
- Towels or a Small Bucket: To manage any spills or residual water.
- Sponge: For soaking up the last bit of water in the tank.
When choosing a new flapper, consider a chemical-resistant model for a longer lifespan, especially if you have hard water or use in-tank cleaners. For more guidance on selecting the right part, you can check resources like How to find the right replacement flapper. With the right flapper in hand, you're ready to begin!
Your Step-by-Step Guide to Toilet Flapper Replacement

Now that you understand the problem and have your tools, let's get to the actual toilet flapper replacement. This beginner-friendly DIY repair typically takes only 15 to 20 minutes. We'll walk through each step to ensure you feel confident and capable.
Step 1: Shut Off Water and Drain the Tank
First, you need to stop the water supply and empty the tank.
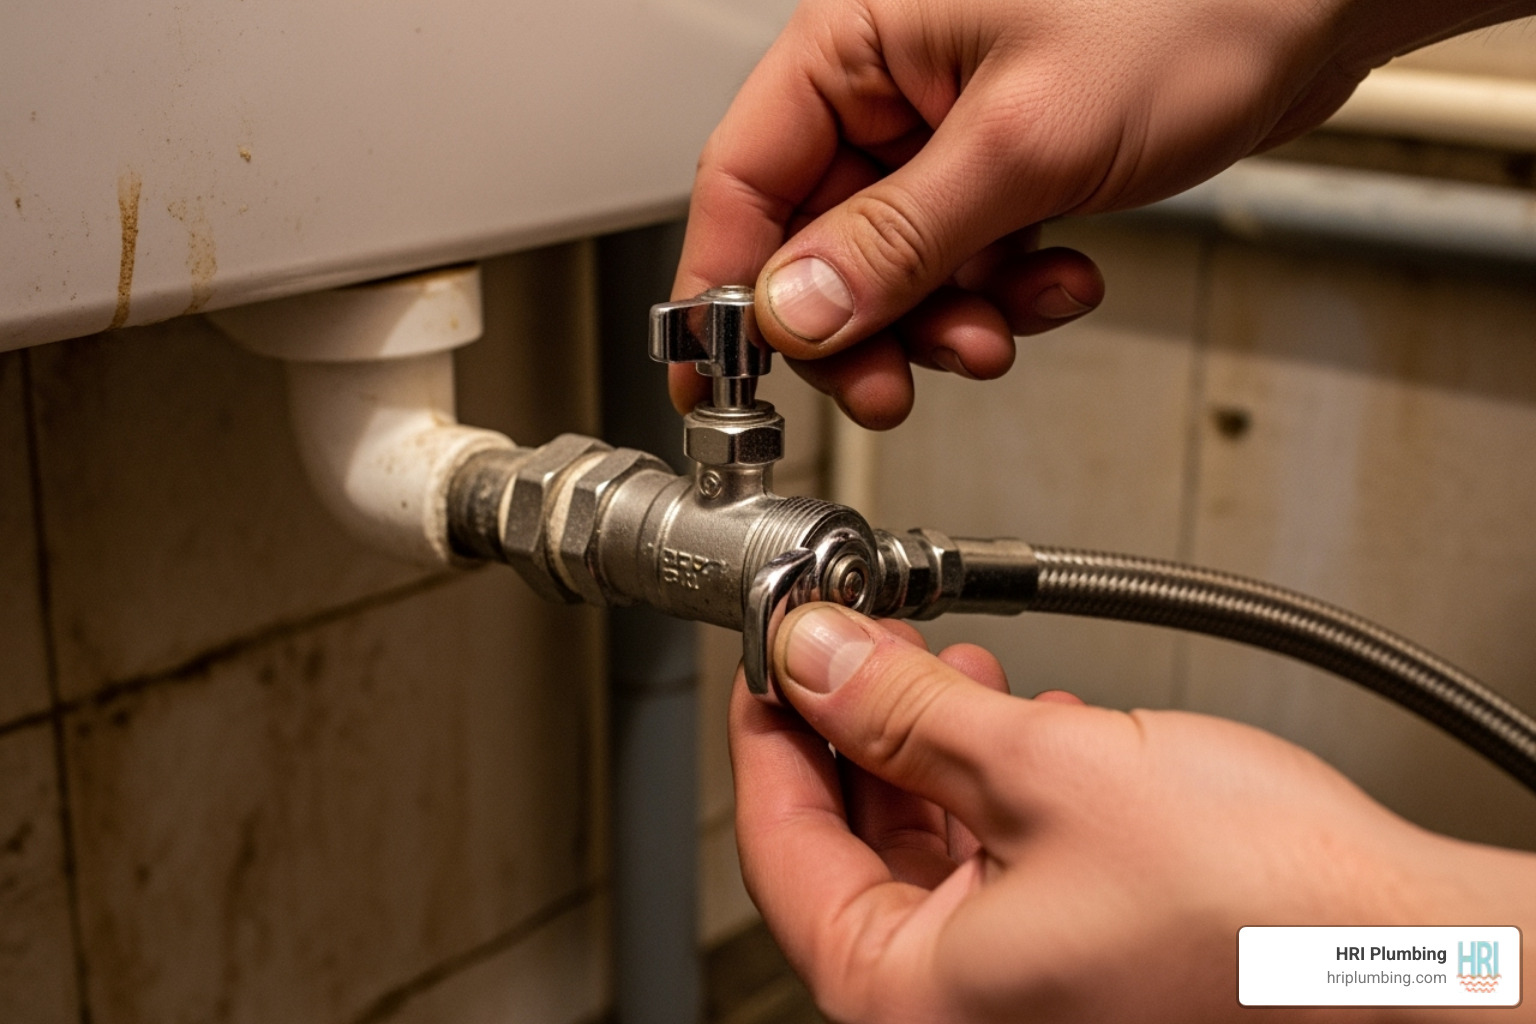
- Turn Off the Water: Locate the water supply shutoff valve on the wall behind your toilet. Turn the valve handle clockwise until it stops. If the valve is stuck or doesn't completely stop the water, you may need to use your home's main water shut-off.
- Drain the Tank: Remove the toilet tank lid and set it aside carefully. Press and hold the flush handle to drain all the water from the tank into the bowl.
- Soak Up Remaining Water: Use a sponge to soak up any water left at the bottom of the tank. This will keep your work area dry and clean.
With the water off and the tank empty, you're ready for the next step.
Step 2: Remove the Old Flapper and Install the New One

With the tank empty, it's time for the toilet flapper replacement.
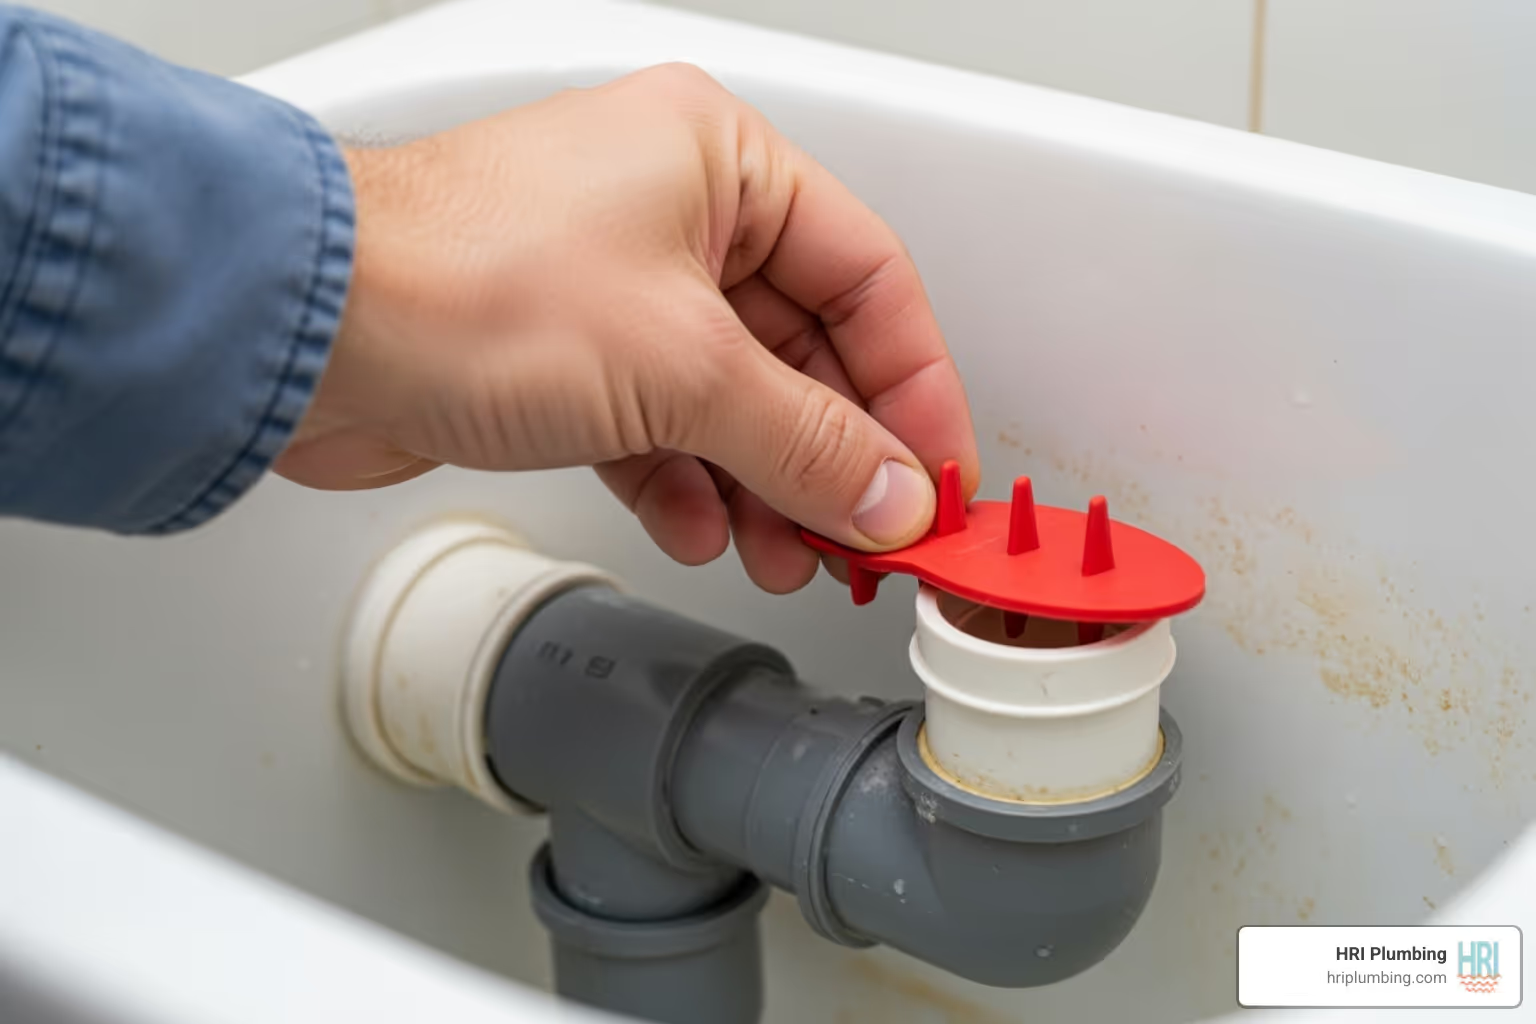
- Disconnect the Old Flapper: First, unhook the small chain that connects the flapper to the flush handle lever. Then, remove the flapper itself. Most flappers have two "ears" that clip onto pegs on the sides of the overflow tube (the large pipe in the center of the tank). Simply unhook these. Some models may slide over the overflow tube instead.
- Clean the Flush Valve Seat: Before installing the new part, wipe down the flush valve seat—the circular rim the flapper sits on. Any grime or mineral buildup on this surface can prevent a proper seal.
- Install the New Flapper: Attach the new flapper by clipping its "ears" onto the same pegs on the overflow tube. If your model slides on, guide it down over the tube until it rests on the valve seat. Ensure it is centered and can move up and down freely.
Great job! Now, let's get that chain connected and test our work.
Step 3: Adjust the Chain and Test Your Work
Properly adjusting the chain is the final, crucial step for a successful toilet flapper replacement.
- Attach and Adjust the Chain: Connect the new chain to the flush handle lever. The chain should have about a 1/2 inch of slack. If it's too tight, it will prevent the flapper from sealing, causing a constant leak. If it's too loose, it may not lift the flapper enough for a full flush or could get caught underneath it. Use your snips to trim any excess chain.
- Turn the Water On: Slowly turn the water supply valve counter-clockwise to let the tank refill.
- Test Your Work: Once the tank is full, flush the toilet. Watch to see that the flapper lifts easily and settles back down to create a tight seal. After the tank refills, listen for any running water. If you hear a trickle, the chain may need a slight adjustment.
- Perform a Leak Test (Optional): For extra certainty, add a few drops of food coloring to the tank water. Wait 15-30 minutes without flushing. If any color appears in the toilet bowl, you still have a leak, likely due to the chain or an improper seal.
If you're still having trouble after the replacement, you may want to read about Indications You Could Need Expert Toilet Repairs.
Final Checks and When to Call a Professional
Congratulations on replacing your toilet flapper! Now, let's perform a few final checks and discuss when it might be time to call a professional.
Common Problems After a Toilet Flapper Replacement
If your toilet still has issues after a toilet flapper replacement, here are a few common culprits and how to troubleshoot them:
- Toilet Still Running: This is often due to an improperly adjusted chain. If it's too tight, it will keep the flapper from sealing. If it's too loose, it can get caught under the flapper. Re-adjust for about 1/2 inch of slack. Also, double-check that the flush valve seat is clean and the flapper is centered.
- Weak or Incomplete Flush: This usually means the chain is too loose and isn't lifting the flapper high enough or long enough. Try shortening the chain slightly.
- Wrong Flapper Size: A persistent leak might mean you have the wrong size flapper. Toilets most commonly use 2-inch or 3-inch flappers, so ensure you have the correct one.
- Persistent Leak (Not the Flapper): If the flapper and chain are correct, the leak might be caused by a faulty fill valve or a corroded flush valve seat that prevents any flapper from sealing.
Sometimes, a running toilet is a symptom of a different issue. For example, slow drains elsewhere could point to a Troubleshooting a main line clog.
When Your Toilet Needs an Expert's Touch
While toilet flapper replacement is a great DIY project, some issues require a professional. Knowing when to call a plumber can save you time, frustration, and prevent further damage.
Consider calling HRI Plumbing if:
- The DIY Fix Doesn't Work: You've followed the steps and troubleshooting tips, but the toilet is still not working correctly.
- The Problem is More Complex: You suspect the issue is a corroded flush valve seat, a faulty fill valve, or another internal mechanism that's beyond a simple part swap.
- You Find Cracks: Any cracks in the toilet tank or bowl need immediate professional attention to prevent major water damage.
- You're Unsure or Uncomfortable: If you're not confident in tackling the repair, our team is ready to help.
At HRI Plumbing, we offer reliable, high-quality plumbing solutions with 24/7 support. Our experienced plumbers serve communities including Jacksonville, Springfield, and Rushville, IL, with honesty and integrity. We provide comprehensive maintenance and repair for all your plumbing and septic system needs.
For any toilet repair or plumbing needs in the Rochester area and beyond, please Contact us for professional plumbing services in Rochester, IL. We're ready to provide expert solutions.


